How to Change PHP Versions in Control Web Panel (CWP) User Panel: Step-by-Step Guide
How to Change PHP Versions in Control Web Panel (CWP) User Panel
Changing the PHP version is crucial for optimizing website performance, ensuring compatibility with applications, and enhancing security. In this guide, we’ll walk you through the steps to change the PHP version in the Control Web Panel (CWP) User Panel (not the Admin Panel).
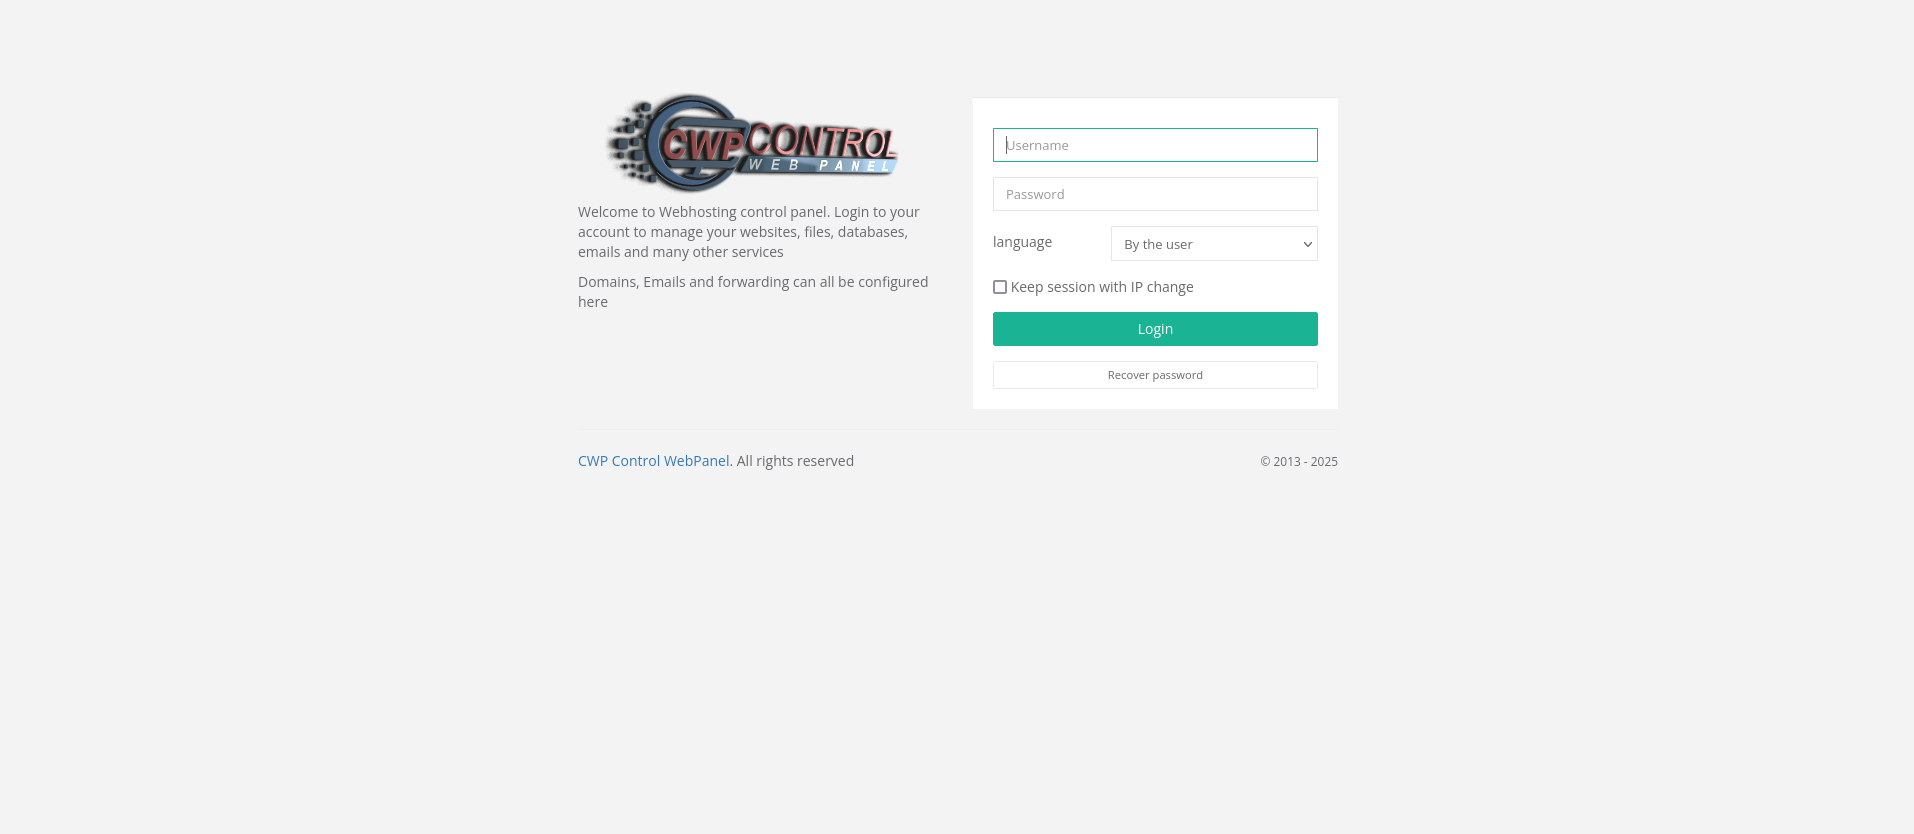
Step 1: Log In to Your CWP User Panel
- Open your web browser.
- Enter your CWP User Panel URL, typically:
http://your-server-ip:2083orhttps://your-domain.com:2083. - Enter your username and password provided by your hosting provider.
- Click Login.
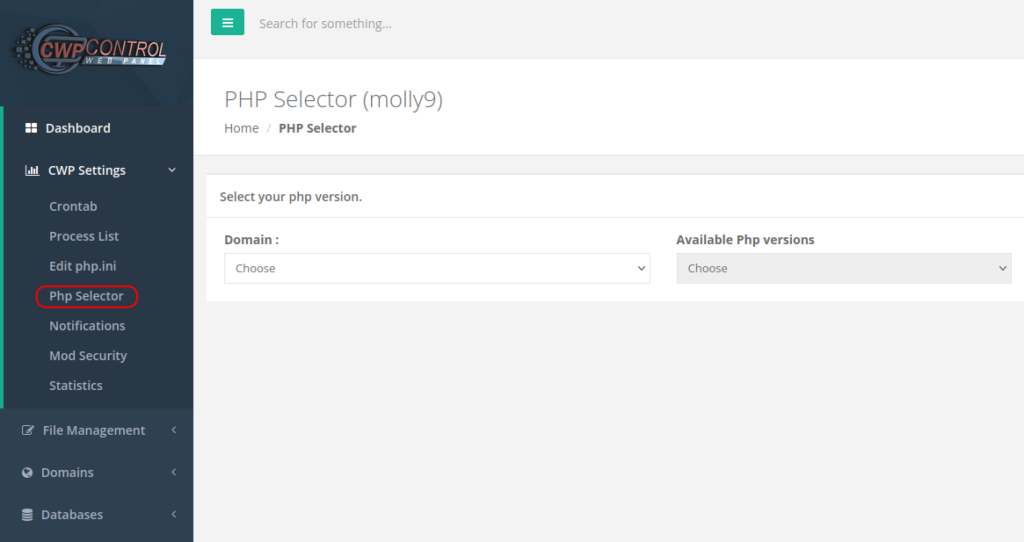
Step 2: Navigate to the PHP Selector
- Once logged in, look at the left-hand sidebar.
- Scroll down and click on “Select PHP Version” or “PHP Selector” under the “Domains” or “Software” section (depending on your panel’s layout).
Step 3: Choose the Domain (If Applicable)
- If you have multiple domains or subdomains, you may need to select the specific domain for which you want to change the PHP version.
- Click on the domain from the list to proceed.
Step 4: Select the Desired PHP Version
- In the PHP Selector interface, you’ll see a dropdown menu or a list of available PHP versions (e.g., 7.4, 8.0, 8.1, etc.).
- Click the dropdown and choose the PHP version you want to use.
Step 5: Apply Changes
- After selecting the PHP version, click the “Set as Current” or “Apply” button.
- Wait for a confirmation message indicating the change was successful.
Step 6: Verify the PHP Version (Optional)
To ensure the PHP version has been updated:
- Go back to the CWP User Panel Dashboard.
- Check the PHP version displayed under your domain details.
OR
- Create a
phpinfo.phpfile to verify:- Open the File Manager in CWP.
- Navigate to your domain’s root directory (usually
public_html). - Click Create New File, name it
phpinfo.php. - Edit the file and add the following code:
<?php phpinfo(); ?>- Save the file.
- Visit
http://your-domain.com/phpinfo.phpin your browser. - The PHP information page will display the current version.
Troubleshooting Common Issues
- Changes Not Reflecting: Clear your browser cache and refresh the page.
- 500 Internal Server Error: Some PHP versions may not be compatible with certain scripts. Switch back to a previous version if this occurs.
- Missing PHP Extensions: Install required extensions via the PHP Selector or contact your hosting support.
Why Changing PHP Versions is Important
- Performance: Newer versions offer speed improvements.
- Security: Updated PHP versions patch vulnerabilities.
- Compatibility: Ensure your CMS (like WordPress) and plugins work smoothly.
Final Thoughts
Changing PHP versions in the CWP User Panel is a straightforward process that can significantly impact your website’s performance and security. By following this guide, you can easily manage PHP settings without needing administrative access.
0 thoughts on “How to Change PHP Versions in Control Web Panel (CWP) User Panel: Step-by-Step Guide”